Thank you for visiting the AUSTRALIA HP Store
-
Contact Us
CONTACT USCall us
- Sales (Home, Students, Gamers)
- 1300 540 516
- Sales (Small Business Customers)
- 1800 891 209
- Post-Sales
- 13 23 47
- Technical support
- 13 10 47
Exc. public holidays
Chat with us- Our specialist are here to help
- Live Product Demo
- Sales
- 61288061500 (WhatsApp)
-

- Post Sales
- 61288061700(WhatsApp)
- Technical Support
- 61341594000(WhatsApp)
Exc. public holidays
Live product demo
Submit feedback We value your opinion! - My Account
Search
How to Install Windows 11 from a USB Drive: Complete Guide

Posted:
February 10, 2026
Categories:
Miscellaneous
Windows 11 brings a host of new features and improvements to the Windows operating system. For Australians looking to upgrade their systems, installing it from a USB drive gives you more control and faster installation times compared to waiting for automatic updates. Before you begin, you’ll need some essential equipment to ensure a smooth installation process.
Contents
- Essential Equipment for Windows 11 Installation
- What You’ll Need
- HP Support Resources
- Step 1: Check Your PC’s Compatibility
- Understanding TPM Requirements for Australian Users
- Step 2: Create a Bootable Windows 11 USB Drive
- Optimising Download Speeds
- Step 3: Install Windows 11 from the USB Drive
- Tips for a Smooth Installation
- Post-Installation Configuration
- Troubleshooting Common Issues
- When to Contact HP Support
- Understanding Storage Requirements
- Conclusion
Essential Equipment for Windows 11 Installation
For a successful Windows 11 installation, you’ll need:
-
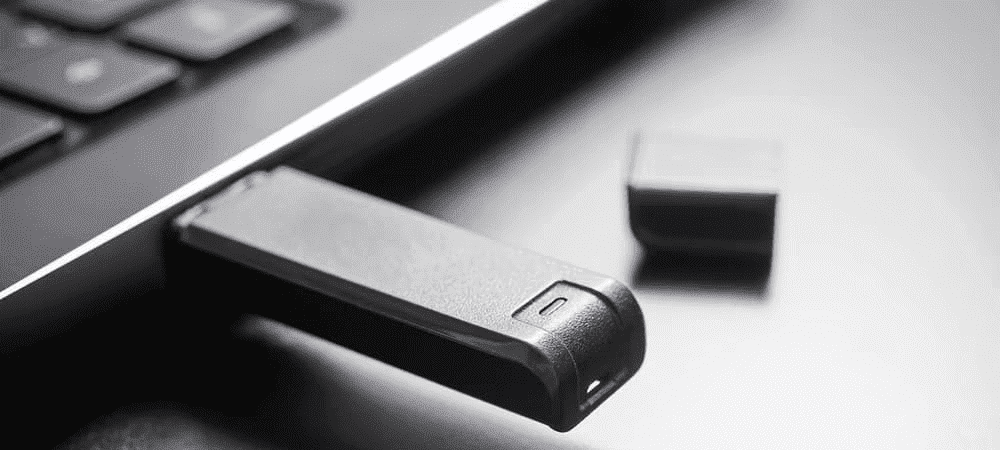
A high-speed USB flash drive (16GB or larger) for faster installation times
-
A reliable external hard drive for backing up your data before installation
-
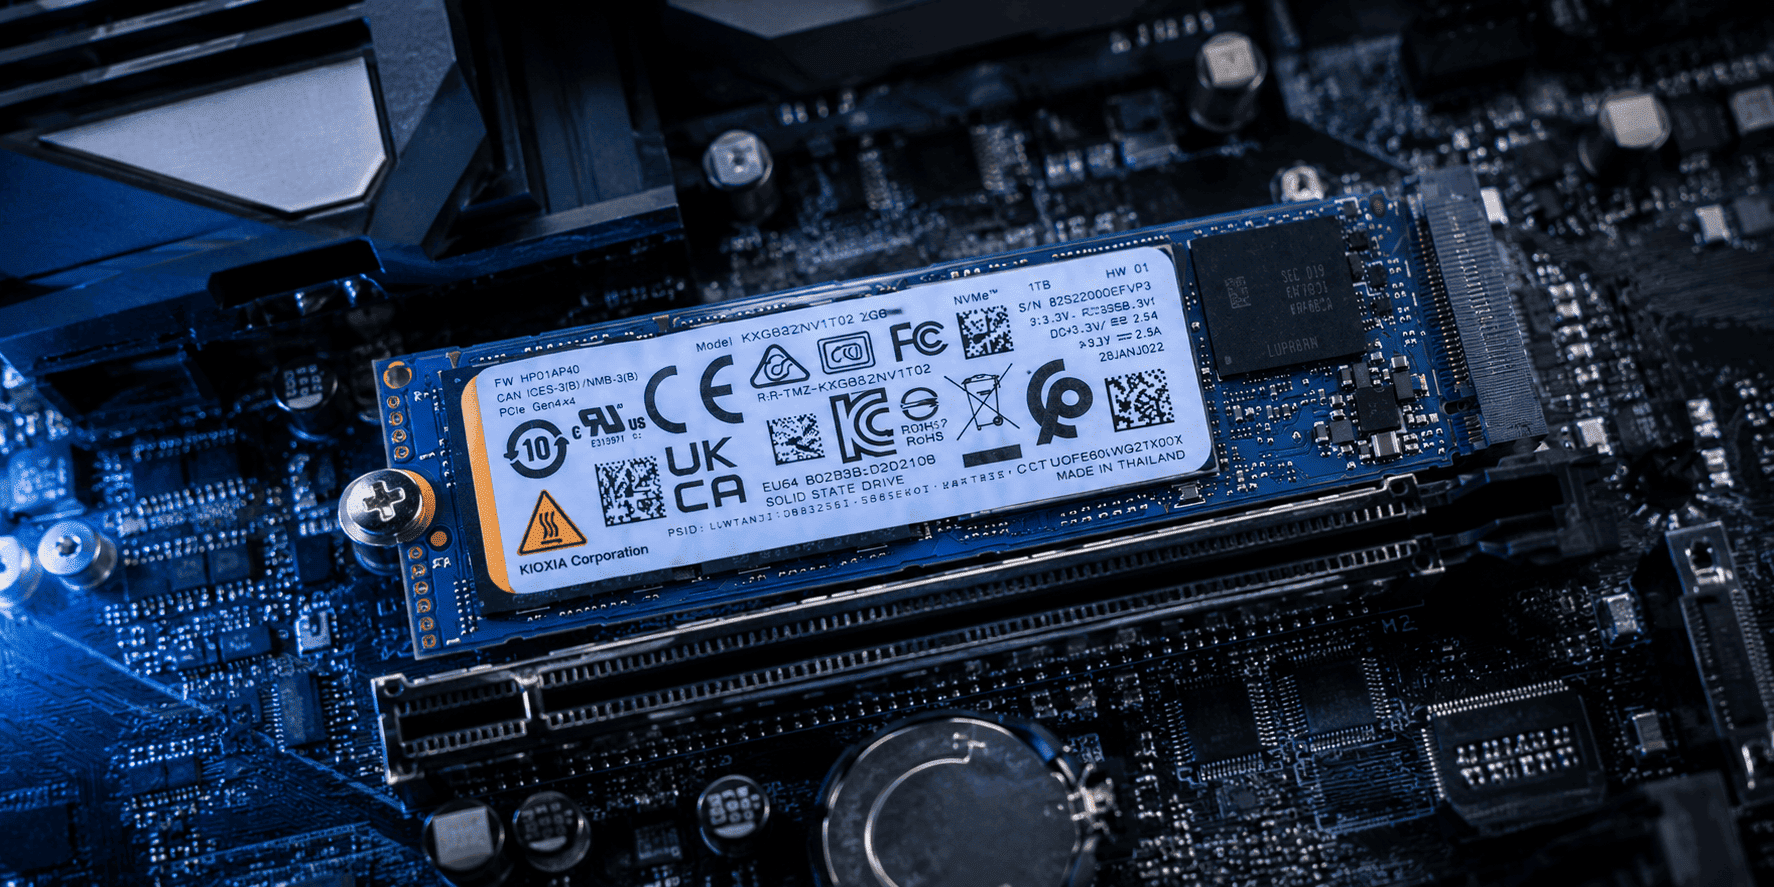
For advanced users: A bootable NVMe drive offers the fastest possible installation speeds
Having the right equipment will make your installation process smoother and protect your data during the upgrade.
What You’ll Need
-
A PC that meets the Windows 11 system requirements
-
An internet connection to download the Windows 11 ISO file
-
The Windows Media Creation Tool to create a bootable USB drive
-
About 1-2 hours of your time
HP Support Resources
Access HP support resources to help you successfully install and set up Windows 11 on your PC. Whether you’re upgrading a personal laptop or a business desktop, having the right guidance ensures a seamless transition.
Step 1: Check Your PC’s Compatibility
Before you begin, make sure your PC meets the minimum system requirements for Windows 11:
-
Processor: 1 gigahertz (GHz) or faster with 2 or more cores on a compatible 64-bit processor or System on a Chip (SoC)
-
Memory: 4 GB RAM or greater
-
Storage: 64 GB or larger storage device
-
System firmware: UEFI, Secure Boot capable
-
TPM: Trusted Platform Module (TPM) version 2.0
-
Graphics card: DirectX 12 compatible graphics / WDDM 2.x
-
Display: High definition (720p) display that is greater than 9" diagonally, 8 bits per colour channel
Understanding TPM Requirements for Australian Users
The TPM 2.0 requirement is particularly important to verify on your system. Many PCs sold in Australia from 2016 onwards include TPM 2.0, but it may need to be enabled in your BIOS settings. Check your PC manufacturer’s documentation or visit HP support for guidance on enabling TPM on your specific model.
Step 2: Create a Bootable Windows 11 USB Drive
-
Download the Windows Media Creation Tool from Microsoft’s official website.
-
Run the Windows Media Creation Tool and accept the licence terms.
-
Select “Create installation media (USB flash drive, DVD, or ISO file) for another PC” and click Next.
-
Choose the language, edition, and architecture (64-bit) for Windows 11.
-
Select “USB flash drive” as the media to use. For optimal performance, use a high-speed USB 3.0 drive.
-
Insert your USB drive and select it from the list.
-
The tool will download Windows 11 and create a bootable USB drive. Depending on your internet speed, this process may take some time.
Optimising Download Speeds
Australian internet speeds can vary significantly depending on your location and NBN connection type. If you’re on a slower connection, consider downloading during off-peak hours for faster speeds. The Windows 11 ISO file is approximately 5GB, so ensure you have sufficient data allowance if you’re on a limited plan.
Step 3: Install Windows 11 from the USB Drive
-
Insert the bootable USB drive into the PC you want to upgrade.
-
Restart your PC and boot from the USB drive. You may need to press a key (like F12 or Esc) during startup to access the boot menu.
-
Once the Windows Setup screen appears, select your language preferences and click “Next.”
-
Click “Install now” to begin the installation process.
-
If prompted, enter your product key, or select “I don’t have a product key” to continue without one.
-
Sign in with your Microsoft account to verify your identity and receive a verification email for authentication.
-
Choose the edition of Windows 11 you want to install and click “Next.”
-
Accept the licence terms and click “Next.”
-
Select “Custom: Install Windows only (advanced)” for a clean installation. Note that reinstalling Windows will not retain personal files or some bundled applications. It is advisable to create recovery media beforehand.
-
Choose the drive or partition where you want to install Windows 11.
-
Follow the on-screen instructions to complete the installation.
Tips for a Smooth Installation
-
Back up your data: Before installing Windows 11, create a complete backup of your important files. An external hard drive with automatic backup software provides the most reliable protection.
-
Update drivers: After installation, check for and install any available driver updates for your hardware. HP provides dedicated driver support for Australian customers through their local support channels.
-
Activate Windows: If you didn’t enter a product key during installation, you’ll need to activate Windows 11 after the installation is complete.
-
Check for updates: Once installed, use Windows Update to check for and install any available updates for your system.
-
Configure regional settings: Ensure your regional settings are set to Australia for correct date formats, currency symbols, and other localised features.
Post-Installation Configuration
After successfully installing Windows 11, take time to configure your system for optimal performance. This includes setting up Windows Hello for secure biometric authentication, configuring privacy settings according to your preferences, and installing essential applications for your work or study needs.
Troubleshooting Common Issues
If you encounter any issues during the installation process, try these troubleshooting steps:
-
Ensure your USB drive is properly formatted and bootable.
-
Disable Secure Boot in your BIOS settings if you’re having trouble booting from the USB drive.
-
If you receive a “This PC can’t run Windows 11” error, double-check that your system meets the minimum requirements.
-
Check your internet connection if the installation stalls during the download phase.
-
Verify that your USB drive has sufficient free space (at least 16GB) for the installation files.
When to Contact HP Support
If you’ve followed all troubleshooting steps and still encounter issues, HP’s Australian support team can provide assistance. They can help diagnose hardware compatibility issues, provide guidance on driver updates, and ensure your system is properly configured for Windows 11.
Understanding Storage Requirements
The 64GB minimum storage requirement is just the baseline. For optimal performance and to accommodate future updates, HP recommends having at least 128GB of available storage. This allows sufficient space for the operating system, applications, and your personal files without compromising system performance.
Conclusion
Installing Windows 11 from a USB drive gives you more control over the upgrade process and allows you to perform a clean installation if desired. By following these steps and using the right equipment, you can enjoy the latest features and improvements that Windows 11 has to offer.
Remember, if you’re not ready to upgrade to Windows 11, you can continue using Windows 10, which Microsoft will support until October 2025. This gives you plenty of time to prepare for the transition to the new operating system.
For Australian users, this extended support period provides an opportunity to evaluate whether your current hardware meets Windows 11 requirements or if an upgrade to a new HP laptop or desktop would better serve your needs. HP offers a range of Windows 11-ready systems designed to take full advantage of the new operating system’s capabilities.
Whether you’re upgrading for enhanced security features, improved performance, or access to the latest applications, Windows 11 represents a significant step forward in PC computing. With proper preparation and the right approach, your installation experience will be smooth and rewarding.
Recent Posts


Popular Posts


Products purchased through this store are sold and fulfilled by Ingram Micro Pty Limited
CONTACT US
Call us
- Sales (Home, Students, Gamers)
- 1300 540 516
- Sales (Small Business Customers)
- 1800 891 209
- Post-Sales
- 13 23 47
- Technical support
- 13 10 47
Exc. public holidays
Chat with us
- Our specialist are here to help
- Live Product Demo
- Sales
- 61288061500 (WhatsApp)
-
- Post Sales
- 61288061700(WhatsApp)
- Technical Support
- 61341594000(WhatsApp)
Exc. public holidays
Live product demo
Submit feedback
We value your opinion!