Thank you for visiting the NEW ZEALAND HP Store
-
Contact Us
CONTACT USCall us
- Sales
- 0800 854 848
- Technical support
- +64 9884 8600
Mon-Fri 9.00am - 6.00pm
(exc. Public Holidays)
Chat with us- Our specialist are here to help
- Live chat
Mon-Fri 9.00am - 6.00pm
(exc. Public Holidays)
Submit feedback We value your opinion! - My Account
Search
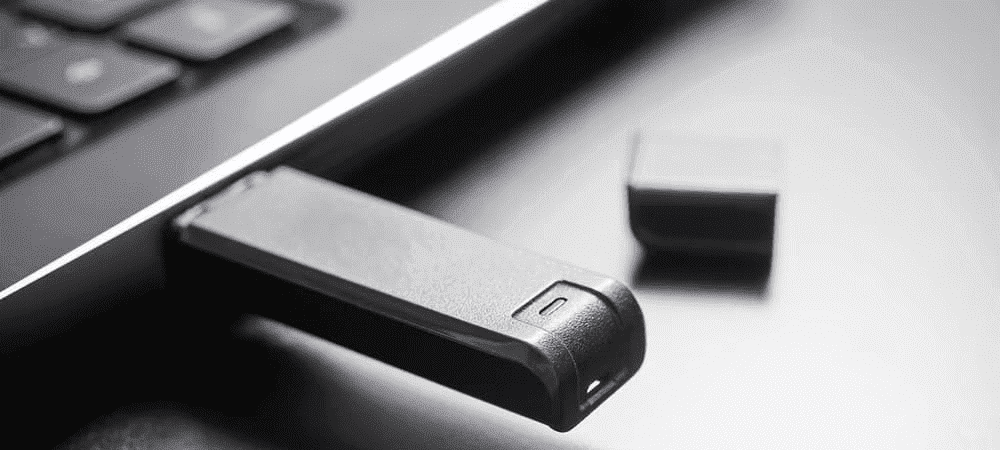
How to Install Windows 11 from a USB Drive

Posted:
February 10, 2026
Categories:
Miscellaneous
Windows 11 brings a host of new features and improvements to the Windows operating system. For Kiwis looking to upgrade their devices, installing it from a USB drive gives you more control and faster installation times compared to waiting for automatic updates. Whether you’re setting up a new system or refreshing an existing one, this comprehensive guide will walk you through the entire process with confidence.
Before you begin, you’ll need some essential equipment to ensure a smooth installation process.
Contents
- Essential Equipment for Windows 11 Installation
- What You’ll Need
- HP Support Resources
- Step 1: Check Your PC’s Compatibility
- Step 2: Create a Bootable Windows 11 USB Drive
- Step 3: Prepare Your System for Installation
- Step 4: Install Windows 11 from the USB Drive
- Tips for a Smooth Installation
- Troubleshooting Common Issues
- Understanding Windows 11 Features for New Zealand Users
- Post-Installation Optimisation
- Conclusion
Essential Equipment for Windows 11 Installation
For a successful Windows 11 installation, you’ll need:
-
A high-speed USB flash drive (16GB or larger) for faster installation times
-
A reliable external hard drive for backing up your data before installation
-
For advanced users: A bootable NVMe drive offers the fastest possible installation speeds
Having the right equipment will make your installation process smoother and protect your data during the upgrade. Modern HP laptops come with USB-C ports that support high-speed data transfer, making the installation process even more efficient.
What You’ll Need
Before starting the Windows 11 installation, ensure you have:
-
A PC that meets the Windows 11 system requirements
-
An internet connection to download the Windows 11 ISO file
-
The Windows Media Creation Tool to create a bootable USB drive
-
About 1-2 hours of your time
-
A reliable HP desktop or laptop that supports Windows 11
HP Support Resources
Access these HP support resources to help you successfully install and set up Windows 11 on your PC. HP’s dedicated support team can assist with compatibility questions and troubleshooting specific to your device.
Step 1: Check Your PC’s Compatibility
Before you begin, make sure your PC meets the minimum system requirements for Windows 11:
-
Processor: 1 gigahertz (GHz) or faster with 2 or more cores on a compatible 64-bit processor or System on a Chip (SoC)
-
Memory: 4GB RAM or greater
-
Storage: 64GB or larger storage device
-
System firmware: UEFI, Secure Boot capable
-
TPM: Trusted Platform Module (TPM) version 2.0
-
Graphics card: DirectX 12 compatible graphics / WDDM 2.x
-
Display: High definition (720p) display that is greater than 9" diagonally, 8 bits per colour channel
Most modern HP systems, including the HP EliteBook range and HP ProBook series, come equipped with these requirements straight out of the box.
Understanding TPM 2.0 Requirements
The Trusted Platform Module (TPM) 2.0 requirement is particularly important for Windows 11. This security chip provides hardware-based security functions and is essential for features like BitLocker encryption and Windows Hello. Most HP business laptops manufactured after 2016 include TPM 2.0 by default.
Step 2: Create a Bootable Windows 11 USB Drive
Creating a bootable USB drive is straightforward with Microsoft’s official tool:
-
Download the Windows Media Creation Tool from Microsoft’s official website.
-
Run the Windows Media Creation Tool and accept the licence terms.
-
Select “Create installation media (USB flash drive, DVD, or ISO file) for another PC” and click Next.
-
Choose the language, edition, and architecture (64-bit) for Windows 11.
-
Select “USB flash drive” as the media to use. For optimal performance, use a high-speed USB 3.0 drive.
-
Insert your USB drive and select it from the list.
-
The tool will download Windows 11 and create a bootable USB drive. Depending on your internet speed, this process may take some time.
Step 3: Prepare Your System for Installation
Before proceeding with the installation, take these important preparatory steps:
Back Up Your Data
Creating a comprehensive backup is crucial before any major system change. Use an external hard drive or cloud storage solution to protect your important files, documents, photos, and settings. While the upgrade process typically preserves your data, having a backup provides peace of mind and protection against unexpected issues.
Update Your Current Windows Version
Ensure your current Windows 10 installation has the latest updates installed. This can help prevent compatibility issues during the upgrade process. Go to Settings > Update & Security > Windows Update and install any pending updates.
Check Available Storage Space
Windows 11 requires at least 64GB of storage, but having more free space ensures a smoother installation and better long-term performance. Aim for at least 100GB of free space before beginning the installation.
Step 4: Install Windows 11 from the USB Drive
Now you’re ready to begin the installation process:
-
Insert the bootable USB drive into the PC you want to upgrade.
-
Restart your PC and boot from the USB drive. You may need to press a key (like F12 or Esc) during start-up to access the boot menu.
-
Once the Windows Setup screen appears, select your language preferences and click “Next.”
-
Click “Install now” to begin the installation process.
-
If prompted, enter your product key, or select “I don’t have a product key” to continue without one.
-
Sign in with your Microsoft account to verify your identity and receive a verification email for authentication.
-
Choose the edition of Windows 11 you want to install and click “Next.”
-
Accept the licence terms and click “Next.”
-
Select “Custom: Install Windows only (advanced)” for a clean installation. Note that reinstalling Windows will not retain personal files or some bundled applications. It is advisable to create recovery media beforehand.
-
Choose the drive or partition where you want to install Windows 11.
-
Follow the on-screen instructions to complete the installation.
Tips for a Smooth Installation
Back Up Your Data Thoroughly
Before installing Windows 11, create a complete backup of your important files. An external hard drive with automatic backup software provides the most reliable protection. Consider backing up to multiple locations, including cloud storage, for additional security.
Update Drivers Post-Installation
After installation, check for and install any available driver updates for your hardware. Visit the HP support website to download the latest drivers specific to your device model. This ensures optimal performance and compatibility with all your hardware components.
Activate Windows
If you didn’t enter a product key during installation, you’ll need to activate Windows 11 after the installation is complete. Windows activation verifies that your copy of Windows is genuine and hasn’t been used on more devices than the Microsoft Software Licence Terms allow.
Check for Updates
Once installed, use Windows Update to check for and install any available updates for your system. Microsoft regularly releases security patches, feature updates, and performance improvements. Go to Settings > Windows Update to check for updates.
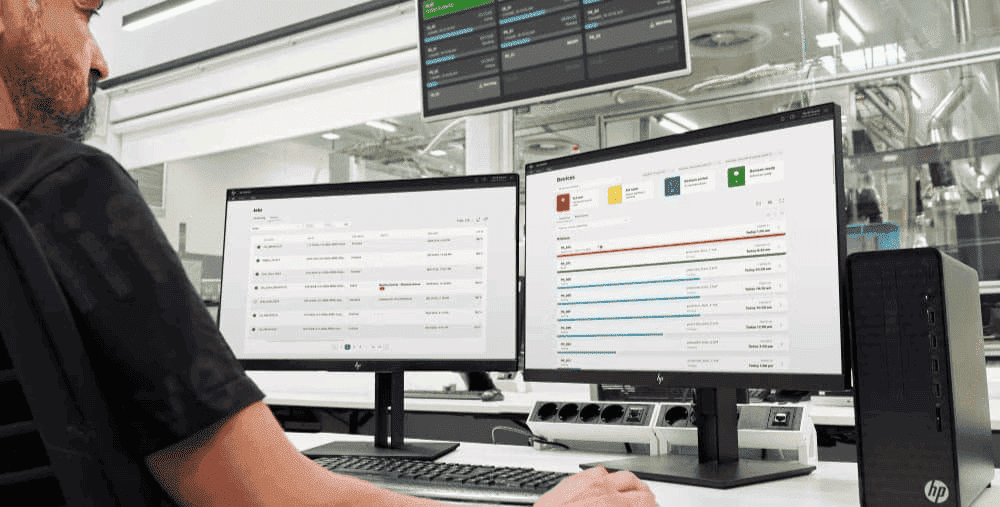
Optimise Your New Installation
After installing Windows 11, take time to customise your settings and install your essential applications. Windows 11 introduces new features like Snap Layouts for multitasking, Widgets for at-a-glance information, and improved virtual desktops for better workspace organisation.
Troubleshooting Common Issues
USB Drive Not Recognised
If you encounter any issues during the installation process, try these troubleshooting steps:
-
Ensure your USB drive is properly formatted and bootable
-
Try using a different USB port, preferably a USB 3.0 port for faster data transfer
-
Verify that the Media Creation Tool completed successfully without errors
Secure Boot Issues
Disable Secure Boot in your BIOS settings if you’re having trouble booting from the USB drive. However, note that Windows 11 requires Secure Boot to be enabled for full functionality, so you’ll need to re-enable it after installation.
System Compatibility Errors
If you receive a “This PC can’t run Windows 11” error, double-check that your system meets the minimum requirements. Pay particular attention to the TPM 2.0 requirement, which can sometimes be enabled in your system’s BIOS settings. Most modern HP business desktops have TPM 2.0 enabled by default.
Installation Freezes or Fails
If the installation process freezes or fails:
-
Disconnect any unnecessary peripherals during installation
-
Ensure your PC has adequate ventilation to prevent overheating
-
Try creating a new bootable USB drive, as the first one may have been corrupted
-
Check that you have sufficient free storage space on the target drive
Understanding Windows 11 Features for New Zealand Users
Windows 11 brings several features particularly beneficial for Kiwi users:
Enhanced Security
Windows 11 includes hardware-based security features that help protect against modern cyber threats. With ransomware and phishing attacks on the rise in New Zealand, these built-in protections provide peace of mind for both personal and business users.
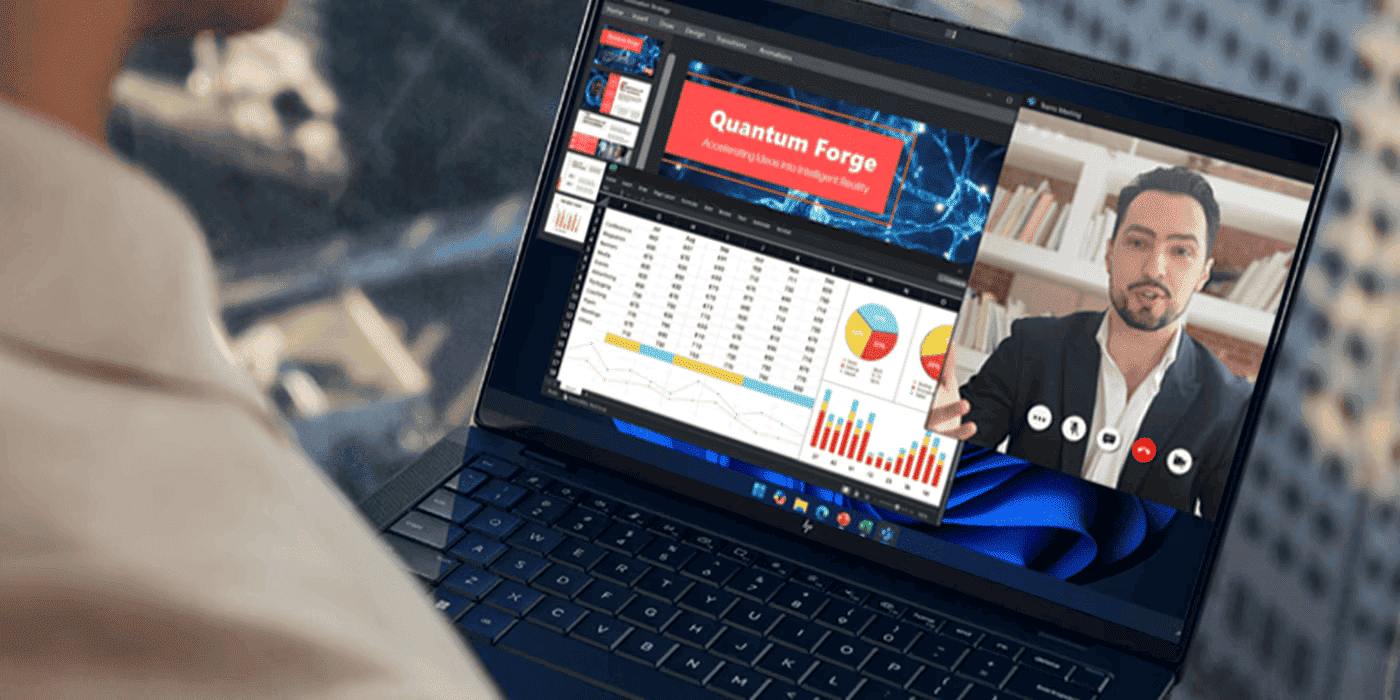
Better Video Conferencing
With many New Zealanders now working remotely or in hybrid arrangements, Windows 11’s improved video conferencing features, including AI-powered noise suppression and automatic framing, help you present professionally in virtual meetings.
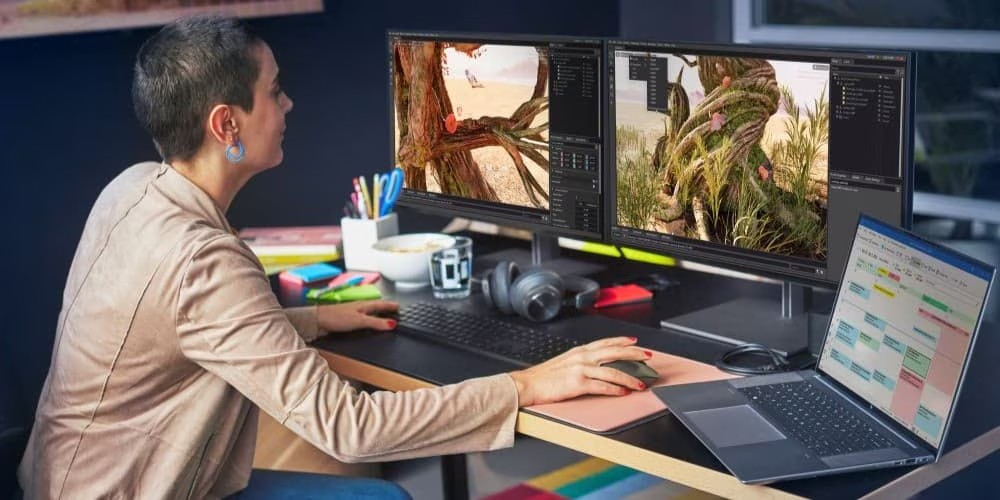
Improved Gaming Experience
For Kiwi gamers, Windows 11 introduces DirectStorage technology and Auto HDR, enhancing gaming performance and visual quality. Gaming desktops and gaming laptops from HP are optimised to take full advantage of these features.
Microsoft Teams Integration
The integrated Microsoft Teams allows for quick communication with colleagues, friends, and family, making it easier to stay connected whether you’re in Auckland, Wellington, Christchurch, or anywhere else in New Zealand.
Post-Installation Optimisation
Install Essential Applications
After successfully installing Windows 11, install your essential applications and programmes. Consider using the Microsoft Store for easy installation and automatic updates of popular applications.
Configure Privacy Settings
Take time to review and configure Windows 11’s privacy settings according to your preferences. Navigate to Settings > Privacy & security to customise what data you share with Microsoft and which apps can access various system features.
Set Up Windows Hello
Windows Hello provides secure, password-free sign-in using facial recognition, fingerprint, or PIN. Many HP laptops, including the HP Spectre range, come with built-in cameras and fingerprint readers that support Windows Hello.
Customise Your Start Menu and Taskbar
Windows 11’s centred Start menu and taskbar offer a fresh look, but you can customise their appearance and functionality to suit your workflow. Right-click the taskbar to access customisation options.
Conclusion
Installing Windows 11 from a USB drive gives you more control over the upgrade process and allows you to perform a clean installation if desired. By following these steps and using the right equipment, you can enjoy the latest features and improvements that Windows 11 has to offer. The process may seem daunting at first, but with proper preparation and the right HP device, you’ll be running Windows 11 smoothly in no time.
For New Zealand users, Windows 11 represents a significant step forward in security, productivity, and user experience. Whether you’re upgrading a personal laptop, business desktop, or gaming PC, Windows 11 provides a modern, efficient platform for all your computing needs.
Remember, if you’re not ready to upgrade to Windows 11, you can continue using Windows 10, which Microsoft will support until October 2025. This gives you plenty of time to prepare for the transition to the new operating system. However, with improved security features, better performance, and an intuitive new interface, making the switch to Windows 11 is well worth considering.
For additional support with your Windows 11 installation or any HP product questions, visit HP Support New Zealand or contact the HP customer service team for personalised assistance.
Recent Posts


Popular Posts


Products purchased through this store are sold and fulfilled by Ingram Micro (NZ) LTD
CONTACT US
Call us
- Sales
- 0800 854 848
- Technical support
- +64 9884 8600
Mon-Fri 9.00am - 6.00pm
(exc. Public Holidays)
Chat with us
- Our specialist are here to help
- Live chat
Mon-Fri 9.00am - 6.00pm
(exc. Public Holidays)
Submit feedback
We value your opinion!