
Note: It may be helpful to print out these instruction before you start to replace the roller kit.
| Figure | Step |
|---|---|
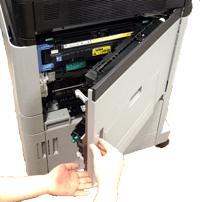
Figure 1: Open the right door
|
1. Open the right door. |
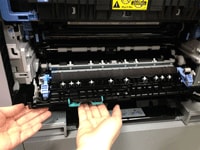
Figure 2: Open the panel
|
2. Lift the green handle on the transfer assembly to release it, and grasp the green handle and pull the transfer assembly directly toward yourself to open the panel. |
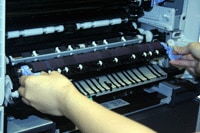
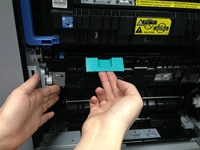
Figure 3: Grasp the handles
|
3. Grasp the blue roller kit handles as shown in Figure 3, then pull the roller kit straight toward yourself and put it on a clean level surface. |
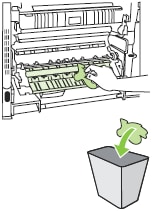
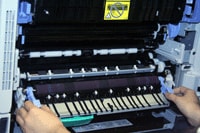
Figure 4: Clean the roller kit slot
|
4. Before inserting the new roller kit, clean the bottom surface of the roller kit slot with a clean, water-dampened, lint-free cloth to remove extra toner, paper, dust, or any other debris. CAUTION: Do not pour water directly onto the bottom surface of the roller kit slot. Do not use any cleaning agent other than water. Doing so might damage the device. |
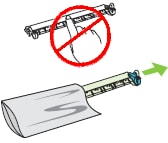
Figure 5: Remove the new roller kit
|
5. Grasp the handle and unpack the new roller kit from its bag as shown in Figure 5. CAUTION: Do not touch the surface of the roller kit. |
Figure 6: Insert the roller kit
|
6. Grasp the blue handles on both side of the new roller kit. Align the roller kit with its slot inside the printer and insert it until it is completely seated. |
Figure 7: Close the transfer assembly
|
7. Lift up the green handle and close the transfer assembly. |
Figure 8: Close the right door
|
8. Close the right door. |
![]()
Please let HP know if this helped you to resolve your issue, and help HP improve service.
![]()