Thank you for visiting the SG HP Store
-
Contact Us
CONTACT USCall us
- Sales
- 1800 278 0182
- Technical support
- +6562725300
Mon-Fri 8.30am - 5.30pm
(exc. Public Holidays)
Chat with us- Our specialist are here to help
- Live chat
- Sales
- 6531292625(WhatsApp)
-

Mon-Fri 8.30am - 5.30pm
(exc. Public Holidays)
Live product demo
Submit feedback We value your opinion! - My Account
Search
How to Clone a Hard Drive in Windows 10

Posted:
March 21, 2023
Cloning a hard drive comes with several benefits that make it an easy way to get the most out of your storage solutions. Cloning allows you to create a 1-to-1 copy of your hard drive, which is useful when you need to backup or transfer data. Even better, it also allows you to copy over your Windows 10 installation with your preferences and settings completely intact.
Before you can create your own clone disk, it’s important to get familiar with the process. We’ll help you learn some technical terms, as well as get an understanding of how to clone a hard drive properly.
In this article, we provide a step-by-step guide at how you can clone your hard drive and explain why someone would want to do this in the first place.
Contents
Why you should clone your hard drive
There are several reasons why you may want to clone your hard drive. You may want to upgrade your hard drive to one with more storage, such as upgrading from 500GB to 2TB. Or you may be interested in increasing your PC’s performance by swapping out your traditional hard-disk drive (HDD) to a solid-state drive (SSD).

1. WHEN UPGRADING YOUR HARD DRIVE
One of the biggest reasons to upgrade your hard drive is a lack of space. If that sounds like you, cloning your hard drive to a new one is a smart move that will allow you to increase your PC's storage capacity without losing any of your old files.
If your device has room to install 2 hard drives – most desktops and some laptops allow for this – you could use your initial hard drive as a backup drive. Then, you can use your new drive as your primary option. This allows you to keep certain cloned files on your initial hard drive, such as your Windows operating system as a backup. This is ideal just in case you encounter any issues when you install your new hard drive.
Pro tip: If you’re looking for a new hard drive, be sure to check out our buying guide to choosing the best hard drive.
2. INCREASE PC PERFORMANCE
PC performance is important to every user, but it’s especially vital for those who push their machines to the max, like gamers, video editors, engineers, and other creative pros. If you prioritize speed and efficiency, chances are you want to use an SSD. Or you may want to swap out your SSD for one with more storage capacity. In either case, cloning your initial hard drive over to the new one is a great way to keep all your data.
PCs also tend to slow down once they get a low disk space warning in their main hard drive. Cloning that drive to one with a higher capacity means you won’t reach your storage capacity. If you’re a gamer, this means you can avoid lag in the middle of a heated online match. And for video editors, this helps prevent crashes or slow downs when you’re rendering 4K video or other high-quality media.
What to do before cloning your hard drive
There are several important steps to take before you create your clone drive.
1. BACK UP ANY IMPORTANT DATA TO AN EXTERNAL DRIVE
If you have any especially important data on your drive that you plan to clone, back it up to an external drive first. This is crucial because you will overwrite all of the data on your initial hard drive during the cloning process. You don’t want to lose any of it in the case something goes wrong.
2. CHECK THE HARD DRIVE’S STORAGE
Make sure the hard drive you’re cloning to has enough space to store all your data. It’s easy to run into space problems, particularly when upgrading from an HDD to an SSD. If the original is an HDD with 1TB of space, make sure your new SSD can handle that amount. If you try to clone too much data, the hard drive cloning process will fail and it will overwrite all of your data. (Luckily you backed everything up first like we suggested in Step 1.)
3. BE PREPARED TO OPEN YOUR DEVICE
Keep a screwdriver nearby so you can open up your desktop to swap out the hard drive once the cloning completes. When performing a hard drive cloning, you need to double-check that your new hard drive is properly connected to your desktop PC.
4. HAVE THE RIGHT CABLE HANDY FOR YOUR LAPTOP
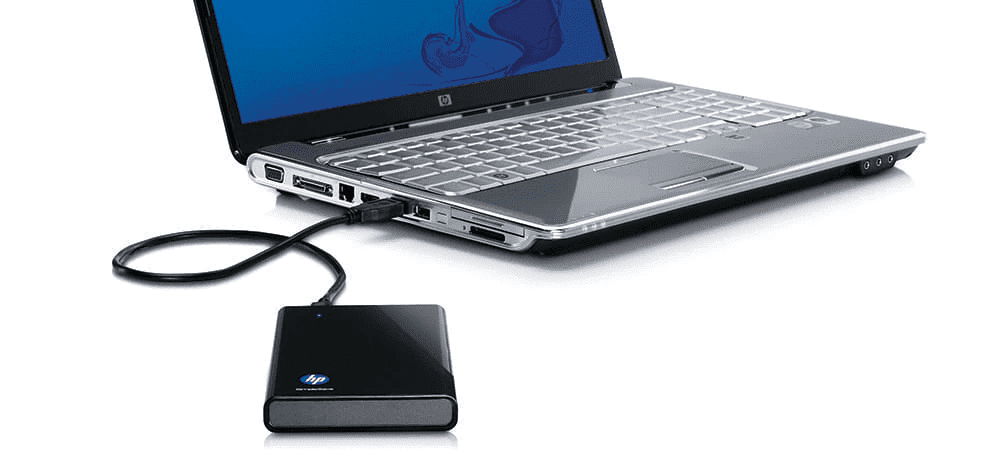
And if you own a laptop with only one hard drive slot available, make sure you own a SATA to USB cable to connect your new hard drive to your device during the cloning process.
How to clone a hard drive
It may sound intimidatingly technical, but cloning a hard drive is actually a straightforward process. However, it does have several steps to follow to make sure you do it properly, otherwise you could lose your data. (Doublecheck that backup!) Here’s how it works.
1. BOOT UP THIRD-PARTY SOFTWARE OR THE SYSTEM IMAGE TOOL
Windows 10 comes with a built-in tool called System Image to help transfer your hard drive. System Image only works if you are cloning your hard drive to a larger hard drive, so you can’t use it to clone hard drive partitions. It also uses a process called imaging, which differs from hard drive cloning in several ways. Primarily, it creates a backup drive instead of a 1-to-1 copy.
Because of these limitations, you may want to use third-party disk cloning software. This simplifies the process, making it a better option for less advanced PC users. AOMEI Backupper Standard and Macrium Reflect Free are two well-rated third-party drive cloning software options.
2. START THE CLONING PROCESS
Using either AOMEI Backupper Standard or Macrium Reflect, you can now start the cloning process. For laptop owners, make sure your device is plugged into an electrical outlet and receiving power.
-
Select your original hard drive, which is also known as the “Source disk”
-
Then, select the new hard drive that you will clone to, also known as the “Destination disk”
-
Click “Start Clone” in AOMEI Backupper Standard or “OK" in Macrium Reflect
The process may take several hours, depending on the size of the drives. To prevent any potential hiccups, your PC needs sufficient power during the cloning process. Make sure you do not turn off your device until the cloning process is complete.
3. FINISH THE CLONING PROCESS
Once the process completes, click “Finish” to wrap things up. Before it ends, however, you will have the option to resize the partitions on the new hard drive.
4. CONNECT NEW HARD DRIVE
After you clone your data to your new hard drive, you need to manually replace your new hard drive. You can do this by opening up your laptop or desktop and then placing the new drive into the hard drive slot in the device.
Pro tip: If this sounds complicated, here’s a tip to make it much easier: Take a photo of what your current hard drive looks like inside your computer before you remove it. This will help you know where the wires go when connecting your new drive.
If your PC has more than one hard drive slot, you may want to leave your initial hard drive connected. This is helpful in case anything goes wrong and you need to restore a backup. You can do this with an external USB drive, which we recommended using prior to beginning the cloning process.
5. MAKE YOUR NEW HARD DRIVE BOOTABLE
The final step in successfully cloning a hard drive is changing the boot priority of the hard drive. This allows your newly cloned hard drive to be the primary drive and that Windows and other programs load directly from your newly cloned hard drive.
To change the boot priority on your system:
-
Restart your PC
-
Press the F2 key upon startup to enter BIOS
-
Once the BIOS loads, navigate to the boot option and select the new hard drive as the first boot device
-
Press the F10 key to save changes
-
Exit
If you followed this process correctly, you should now have a successfully cloned hard drive.
Summary
Whether you want to upgrade your hard drive from an HDD to an SSD or you simply need more storage capacity, the best way to get there is by cloning your hard drive.
With cloning, you create a 1-to-1 copy of your old hard drive. This allows you to use your PC with its Windows operating system, installed programs, and saved user preferences completely intact. While the process may seem intimidating at first, it is the most straightforward and efficient method to copy over your operating system and files to a new hard drive.
Recent Posts


Popular Posts


CONTACT US
Call us
- Sales
- 1800 278 0182
- Technical support
- +6562725300
Mon-Fri 8.30am - 5.30pm
(exc. Public Holidays)
Chat with us
- Our specialist are here to help
- Live chat
- Sales
- 6531292625(WhatsApp)
-
Mon-Fri 8.30am - 5.30pm
(exc. Public Holidays)
Live product demo
Submit feedback
We value your opinion!