

72 Hour Flash Sale
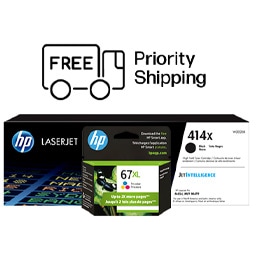
Plus, get FREE shipping storewide.


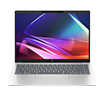
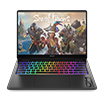
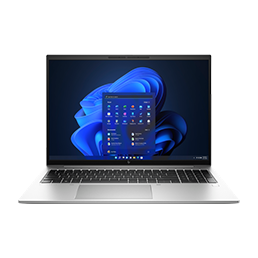
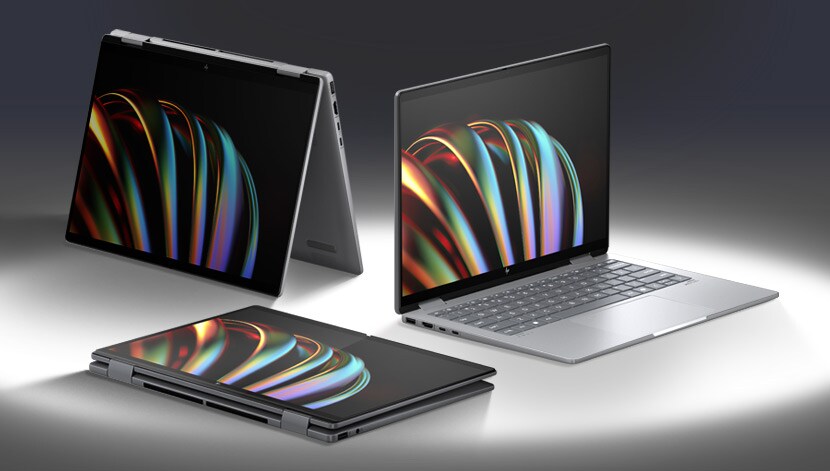
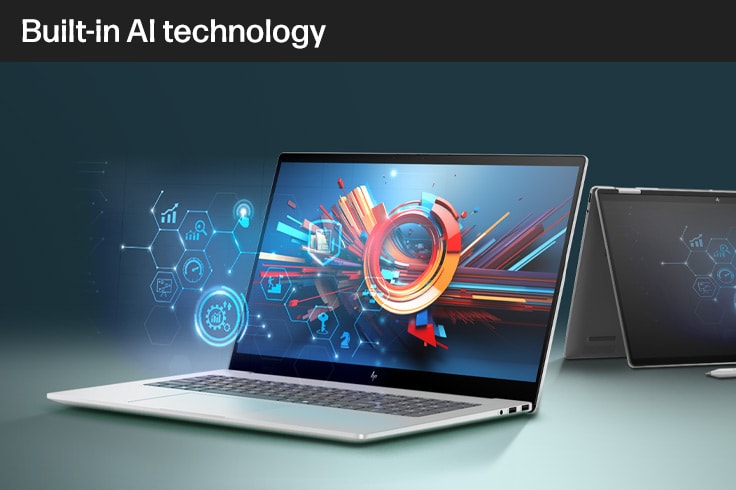
HP Laptops with AI-powered tools
Starting at $699.99 - Run AI applications while still multitasking smoothly and increase efficiency for a longer-lasting battery.

HP Sales Advisors
Buying for a business? Learn more about how our Small and Medium Business Advisors can help you.
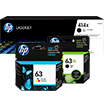
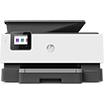
Starting at $6.99/month
Get a new printer plus ink and 24/7 support with the HP All-In Plan.


The only online PC store you will need
Looking for an online computer store for your personal or business needs? Look no further than HP.com - the home of HP’s laptop store. At HP.com, we offer a full array of innovative, award-winning products, from laptops and tablets to desktop PCs, printers, accessories, and much more. Whether you’re looking for business productivity tools and resources or immersive technology that is revolutionizing interactivity, you can find what you’re looking for in the PC store at HP.com.
From portability to power, and everything in-between
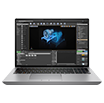
If it’s mobility you’re looking for, you’ll find what you need on the HP.com laptop store. With a wide assortment of products from laptops for business or gaming, convertibles and detachables, all the way to premium laptops and 3-in-1s, you’re sure to find a device that meets your business or personal needs.
From business laptops, the HP EliteBook series offers the performance and reliability that today’s mobile business environment demands. If a premium laptop is more your style, both the HP Spectre and HP ENVY series offer elegant designs and solid performance. And for the everyday demands of life at a great value, the HP Pavilion laptop series offers something for everyone.
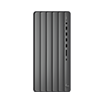
If a desktop PC better suits your needs, the PC store at HP.com has you covered there too. From all-in-ones, high performance, and gaming PCs to those for business or home use, there’s a desktop PC for just about any environment.
The sleek form factor of the HP ENVY or HP Pavilion all-in-ones makes an attractive statement in any workspace, while the high-performance HP OMEN gaming systems take gaming and more to an entirely new level. For the varied demands of everyday business, the HP Elite, HP Pro, and HP Z series products provide businesses with options for just about any need. At home, the HP Pavilion series continues to provide reliable performance at a reasonable price, year after year.
More than just computers
But the HP store is not just about computers. Far from it.
If it’s printing capabilities you’re after, HP® has you covered with printers for virtually every environment. Whether it’s home printers or business printers, our innovative products offer unrivaled performance to meet your needs.
Our versatile HP all-in-one printers and photo printers feature the latest photo and mobile printing innovations, and our printer scanners are designed to handle everything from simple color jobs to complex workflows.
We also have an assortment of wireless and portable printers with the latest technology to keep up with your mobile printing needs. And don’t forget about the reliability of HP’s multifunction printers and laser printers. You’ll get professional-quality results, trusted print, scan, and copy reliability, and the performance you expect from HP printers.
To ensure you’re getting this highest quality printing capabilities, don’t forget to choose Original HP ink and toner cartridges. Whether it’s an HP 61 ink, and HP 564 ink, or an HP 60 ink, you can count on dependable performance, consistent page yields, and standout results. With Original HP toner cartridges, you can ensure flawless performance while avoiding costly reprints, all with the HP® quality you expect.
If 3D printing is what you’re after, HP’s 3D printing is leading the way to an entirely new revolution in digital prototyping and industrial transformation. From full-color 3D printing with voxel level control to metals printing, we offer solutions tailored to a wide range of environments - from small/medium sized product development teams to design firms, universities, and more.
Don’t forget to round out your shopping at the HP computer store with our full assortment of computer accessories, monitor and displays, software, and much more. From cables & components to portable hard drives and multimedia accessories, you’re sure to find the computer peripherals and accessories you need.
Solutions and support
If business solutions or support are what you’re after, we’ve got the expertise to empower your business. From mobility to security to 24/7 tech support, our skilled consultants and technicians can help move your business into the future. Find the business products you need in the HP PC store, prepare for what’s next in virtual reality and beyond, or explore industry-specific products and services to keep your business moving forward.
Interested in reading more about HP products? Check out our trending technology publication at HP Tech Takes, where you can find a plethora of useful information about which HP products are best for home or office, what is new in the world of technology, how HP® is making a difference, and plenty of additional content to keep you up-to-date.
The computer store at HP.com. Your one-stop-shop for the technology you need, and the performance and reliability you expect from HP®.
Offers subject to change, not combinable with all other offers, and exclusions may apply, while supplies last. HP may impose a purchase quantity limit (for example, 3 units per order). Taxes, shipping, and other fees may apply as applicable. HP reserves the right to cancel orders arising from pricing or other errors. Prices, specifications, availability, and terms of offers may change without notice. Price protection, price matching or price guarantees do not apply to Intra-day, Daily Deals or limited-time promotions. These terms apply only to products sold by HP.com; reseller offers may vary. Items sold by HP.com are not for immediate resale. Orders that do not comply with HP.com terms, conditions, and limitations may be cancelled. Contract and volume customers not eligible.
HP’s MSRP is subject to discount. HP’s MSRP price is shown as either a stand-alone price or as a strike-through price with a discounted or promotional price also listed. Discounted or promotional pricing is indicated by the presence of an additional higher MSRP strike-through price.
Microsoft and Windows are US registered of Microsoft Corporation. Ultrabook, Celeron, Celeron Inside, Core Inside, Intel, Intel Logo, Intel Atom, Intel Atom Inside, Intel Core, Intel Inside, Intel Inside Logo, Intel vPro, Itanium, Itanium Inside, Intel Evo, Intel Optane, Iris, Itanium, MAX, Pentium, Pentium Inside, vPro Inside, Xeon, Xeon Phi and Xeon Inside are trademarks of Intel Corporation or its subsidiaries in the U.S. and/or other countries.
Not all features are available in all editions or versions of Windows. Systems may require upgraded and/or separately purchased hardware, drivers, software or BIOS update to take full advantage of Windows functionality. Windows is automatically updated and enabled. High speed internet and Microsoft account required. ISP fees may apply and additional requirements may apply over time for updates. See http://www.windows.com.
Earn HP Rewards on select products from the following categories: Laptops, Desktops, Printers, Business PC’s, select Accessories, and select Ink, Toner & Paper. Exclusions apply, and program membership required. See details HP Rewards
The personal information you provide will be used according to the HP Privacy Statement
*America’s most trusted printer brand: Based on 2022 semi-annual internal brand surveys commissioned by HP.
*2 years of ink included with the best print quality every time: Based upon 150 and 200 pages per month of HP Smart Tank customers’ usage. Actual yield varies considerably based on content of printed pages and other factors. Average yield based on ISO/IEC 24711 or HP testing methodology and continuous printing. Some ink from included bottles is used to start up the printer. For details, see: www.hp.com/go/learnaboutsupplies. Print quality tested on everyday paper. Compared to the majority of in-class, 3:1 and 4:1 duplex, wireless A4 ink tank printers under $552 USD. Printers selected by market share as reported by IDC Quarterly Hardcopy Peripherals Tracker – Final Historical CYQ2 2023. Claim based on publicly available information as of September 2023 and Keypoint Intelligence hands-on testing and study in September 2023 commissioned by HP. Details: www.keypointintelligence.com/hpbesteverydayprintquality.