Follow the steps listed below to print the fuser cleaning page.
- Print a copy of this Web page, and walk over to the printer you are troubleshooting.
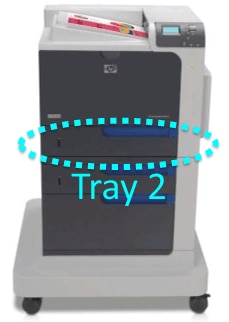
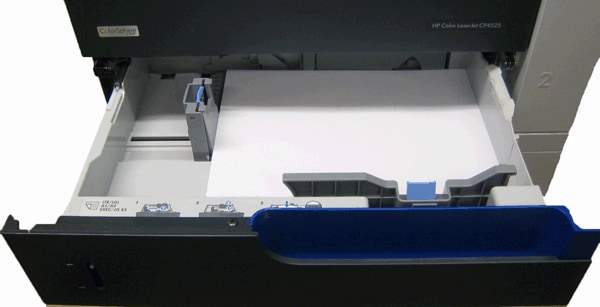
- Load either 8.5 x 11-inch paper (letter) or A4 in Tray 2
 of your printer.
CAUTION: For best cleaning results, please use copier paper with a smooth surface. Weight: 64g/m² - 90g/m² (17lb - 24lb).
- Press the Menu button
 to enter the MENU on the control panel of the printer.
- Press the Down arrow button
 to highlight the CONFIGURE DEVICE menu.
- Press the OK button
 to select the CONFIGURE DEVICE menu.
- Press the Down arrow button to highlight the PRINT QUALITY menu.
- Press the OK button to select the PRINT QUALITY menu.
- If the product does not have automatic two-sided printing, press the Down arrow button to highlight the CREATE CLEANING PAGE option, and then press the OK button . If the product has automatic two-sided printing, go to Step 9.
- Press the Down arrow button to highlight the PROCESS CLEANING PAGE option, and then press the OK button .
- The message CLEANING ... DO NOT GRAB THE PAPER displays on the control panel until the printer finishes printing the fuser cleaning page.
- Discard the printed page. The task is complete.
- The printer returns to the Ready state, after printing the fuser cleaning page.
![]()
Please let HP know if this helped you to resolve your issue, and help HP improve service.
![]()